Alex MC - Unfortunately the PCB is glued inside the box at this point, but here's a picture I found online of the same PCB (Ignore the red arrow):

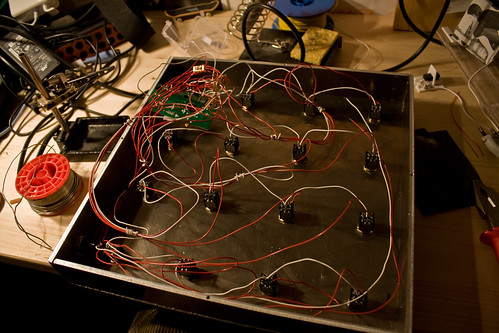
Basically I left the tabs plugged into the terminals (Which is what that hand in the picture is pushing the tab into), cut off the keyboard sheets so I was left with just the tabs and the metal lines, stripped them and taped wires to the different leads (in my case Top (Long) 1,2,3,4,5, and Bottom [1+2(which are ground/lead for the LED),3,7,9)
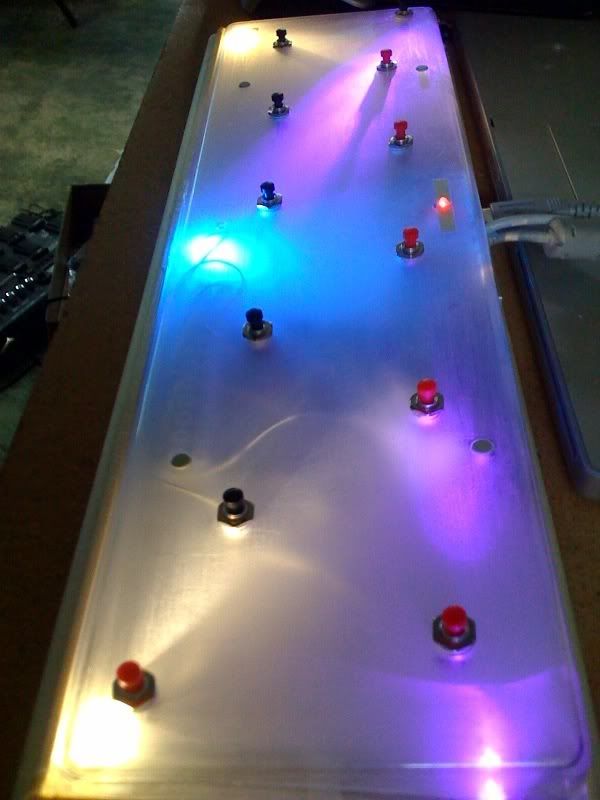
About the buttons -- I definitely went with the cheapos for budget/convenience's sake. They came 4 in a pack (2 red/2 black) for ~$3.75 at Radioshack.
First, the negatives: The build quality is not consistent. I checked and double checked that each button functioned correctly with each new connection I made. Some of the buttons feel great, while others feel a bit looser.
The major problem you need to watch out for is when soldering, the metal connectors are housed in a plastic casing - WHICH CAN MELT - the metal bits heat up and can move around the softened plastic if you apply any force. So just make sure you solder your connections as quickly as possible.
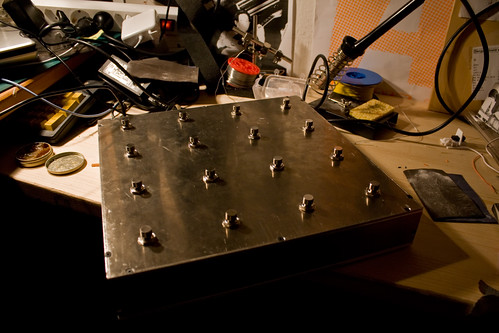
Positives: The buttons are very secure once screwed in with the provided bolt. Each button is responsive, and now having used and tested it for a couple days, I can say that I would trust using it live. You definitely would not want to step on them with all your weight, but if you're just tapping the buttons with your foot they're fine.
If you're on a budget, I'd say so long as you're not crazy on stage stomping on the buttons, then they will work fine - but if you have the money, go for a higher quality set of buttons.
Cheers