The big idea behind the keyboard is that the humble QWERTY keyboard offers a ton of control possibilities, thanks to the flexible keymapping capabilities of Ableton Live. I've been using the built-in keyboard on my Powerbook for a while now to trigger clips in performance, but it's tough for a couple reasons. First, it looks like you're writing e-mail during a show, and that's kinda boring. Second, all the keys look the same (minus the markings, of course) - there's not much that lets you navigate easily in low-light conditions and in the heat of the moment on stage.
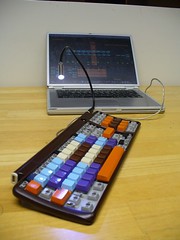
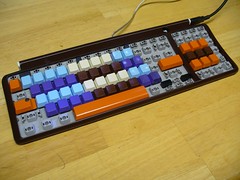
My approach was to use grouping and color to present an easier-to-handle interface for the stage, and also to strip back some of the options that wouldn't get used for performance (like the function keys). I decided on a set of 4x4 and 2x4 grids of keys, along with a 9-key number pad. The 4x4 and 2x4 grids are used to turn the audio channel on/off or trigger clips, and the number pad is used to launch all clips in a song.
You can see a whole set of photos from the process of stripping the keyboard down, repainting it, and re-assembling it here:
http://www.flickr.com/photos/chromedeca ... 395102052/
Here are some behind-the-scenes details:
I started with the USB keyboard from an old iMac. After stripping all the keys off it and taking the enclosure apart, I washed all the keys in warm, soapy water and then rinsed & dried them. Once everthing was dry, I used plastic primer (in a spray can) to prime the pieces, then used some el-cheapo spray paint in different colors to hit the enclosure and keys.
Hope you enjoy it. Stay tuned for my next custom-painting adventure, coming soon! I decided I couldn't stop at the USB keyboard, so I stripped down my 16-fader PC1600x MIDI controller. Pictures coming soon, after I get all the painting done!
bvl